


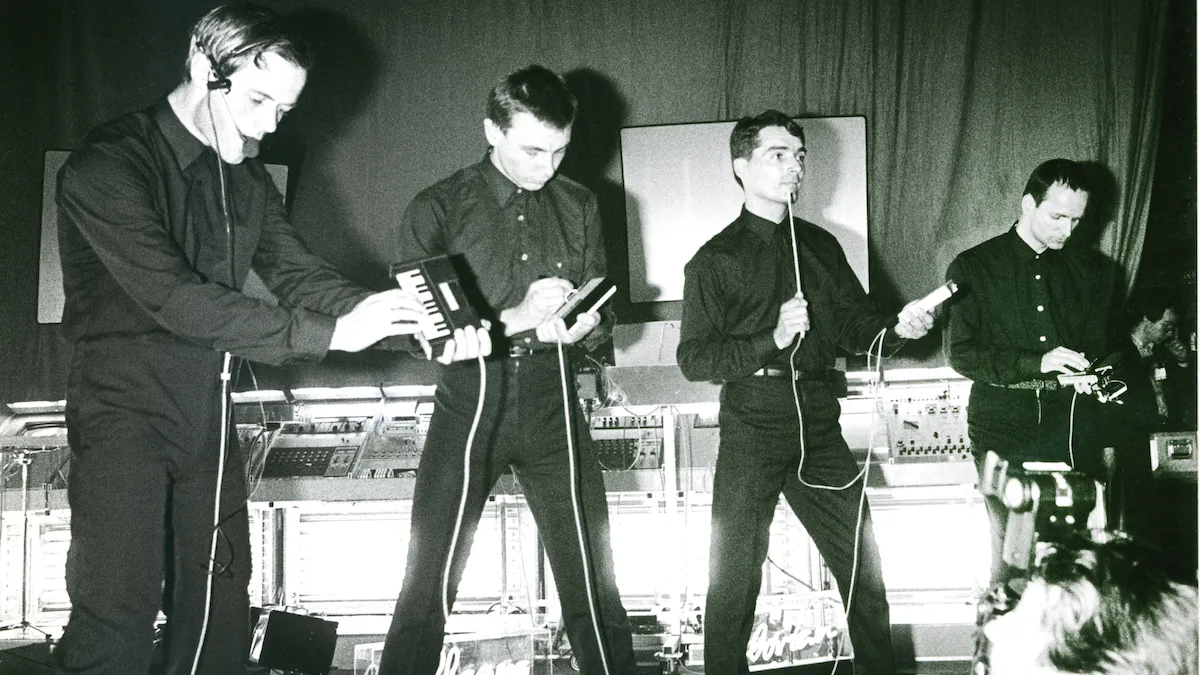
"Kraftwerk were using a Bee Gees-branded toy drum machine" – and a pretty terrible one at that
And it's certainly not the only piece of weird gear the iconic German band have used…

And it's certainly not the only piece of weird gear the iconic German band have used…

The DT-DX is based on the Raspberry Pi-powered MiniDexed DIY synth
An “accidental leak” was to blame, apparently

This all-in-one room correction package means no more excuses for a muddy low-end

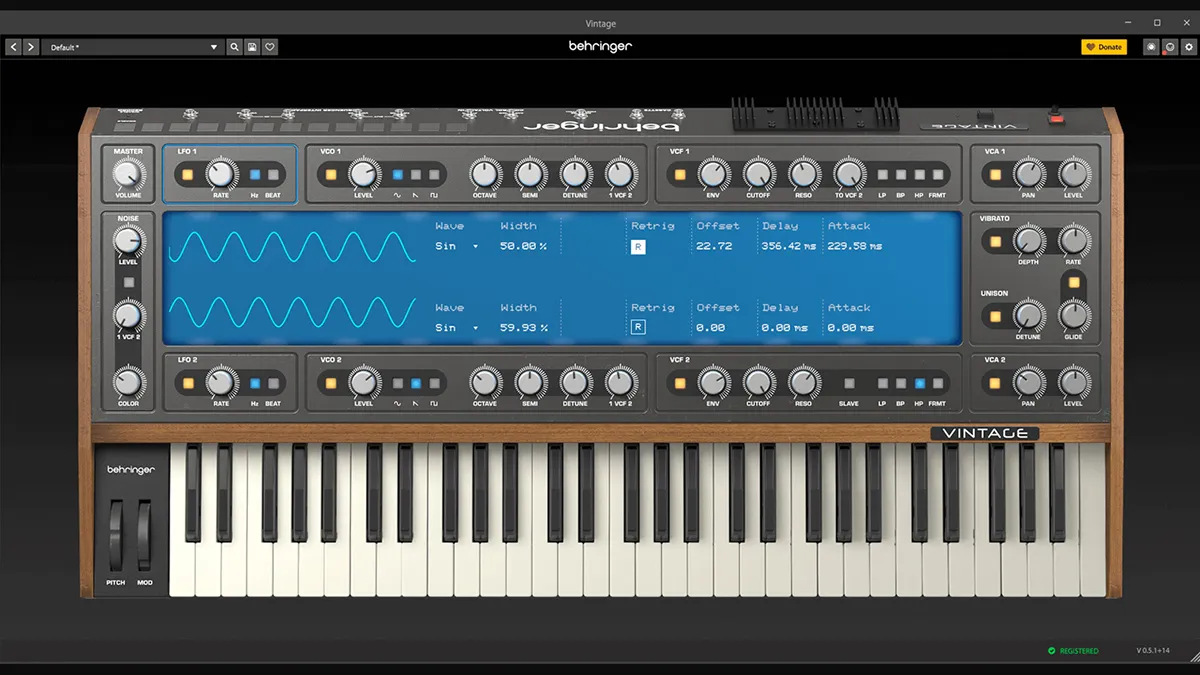
An iOS-based homage to a virtual analogue classic

The Swedish developer launches a sample-based drum machine. We give it a shot

“There is such a magnificent world of ideas and harmonies inside that beautiful head of yours,” she gushes on his 18th birthday
“We are not responsible for the graphics, the sound engine, or anything else related to it”

Synthlation means you can pay nearly six figures for some of these synths (but also get most of their sounds for free)…

Those hoping for the full V Collection experience in hardware form might be disappointed. But, as we discover, AstroLab’s simplicity is its biggest selling point
It’s yours for nothing… if the page you’re looking for can ever be found

Headphones designed for both recording and mixing? We're intrigued

Well designed coaxial monitors can offer substantial sonic benefits. We hook one up

Following the widely-loved Soothe, we ask if Oeksound’s latest might become another must-have

1990s music gear might be a bit rubbish compared to today's, but its genius was in its limitations…

One of the most famous studio amps of all time, now in digital form

One of the most highly regarded piano libraries around gets an update. Does it strike a chord?

Incredibly, some of these under-the-radar beauties are over a decade old, but still available (and still very good)

A bit of a diva in synth clothing? We travel back to 1972 for a reimagining of an ARP classic with soloistic tendencies

