


We'd forgotten quite how many Depeche Mode bargains Alan Wilder shifted in his legendary auction
An Oberheim and Minimoog went for a song, but it was a Martin Gore guitar and E-mu sampler that stole the show

An Oberheim and Minimoog went for a song, but it was a Martin Gore guitar and E-mu sampler that stole the show

Near-death experiences, breakdowns, talking puppets, heart attacks, sleeping in coffins… Just another Depeche Mode album, then

Now new users can get their EX kicks right out of the box
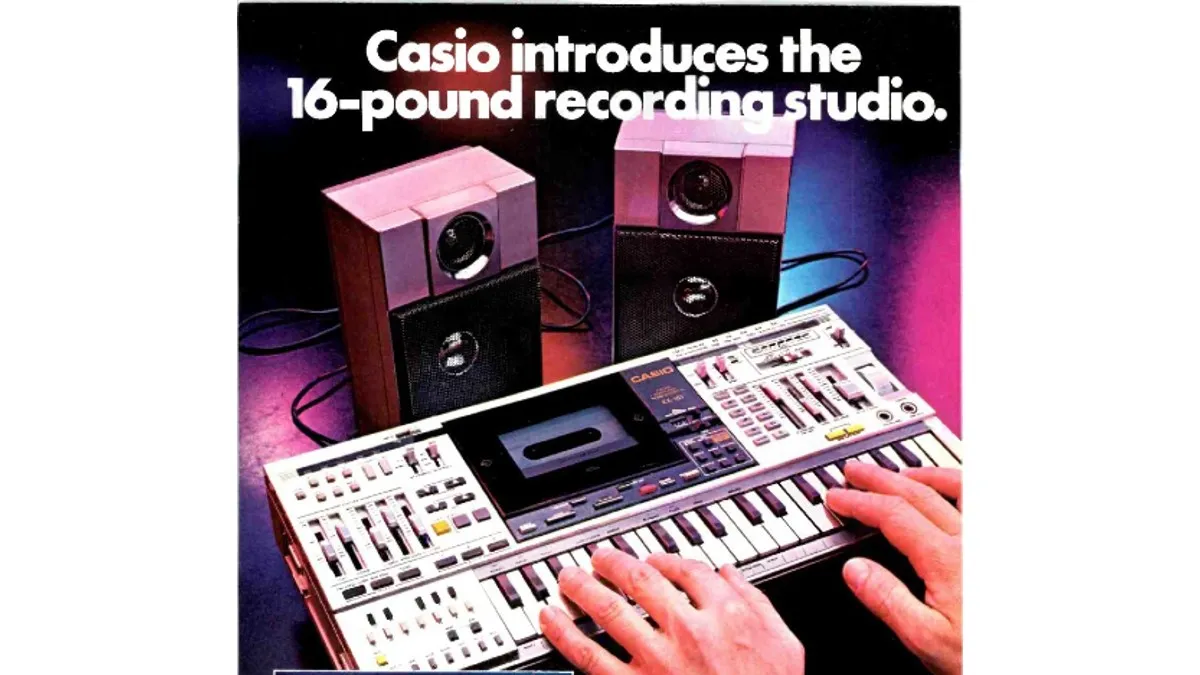
Synth workstation? Karaoke machine? Recording studio in a ghetto blaster? Answer: all - and none - of the above…

“I guess we were sort of playing a game to see who could get the furthest behind without getting off beat,” says Saadiq of the recording of D’Angelo’s Lady

One of the world’s most popular studio microphones gets back to basics. We find out more

Is this your new best case scenario? We find out
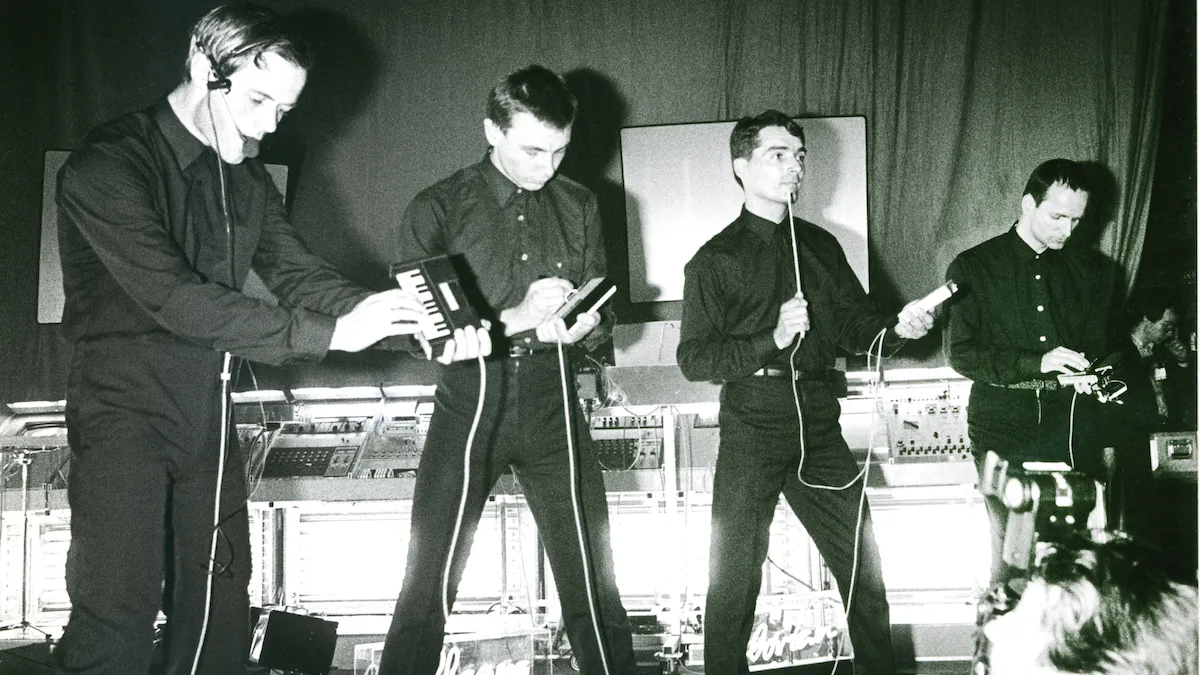
And it's certainly not the only piece of weird gear the iconic German band have used…

The DT-DX is based on the Raspberry Pi-powered MiniDexed DIY synth
An “accidental leak” was to blame, apparently

This all-in-one room correction package means no more excuses for a muddy low-end

An iOS-based homage to a virtual analogue classic

The Swedish developer launches a sample-based drum machine. We give it a shot

“There is such a magnificent world of ideas and harmonies inside that beautiful head of yours,” she gushes on his 18th birthday
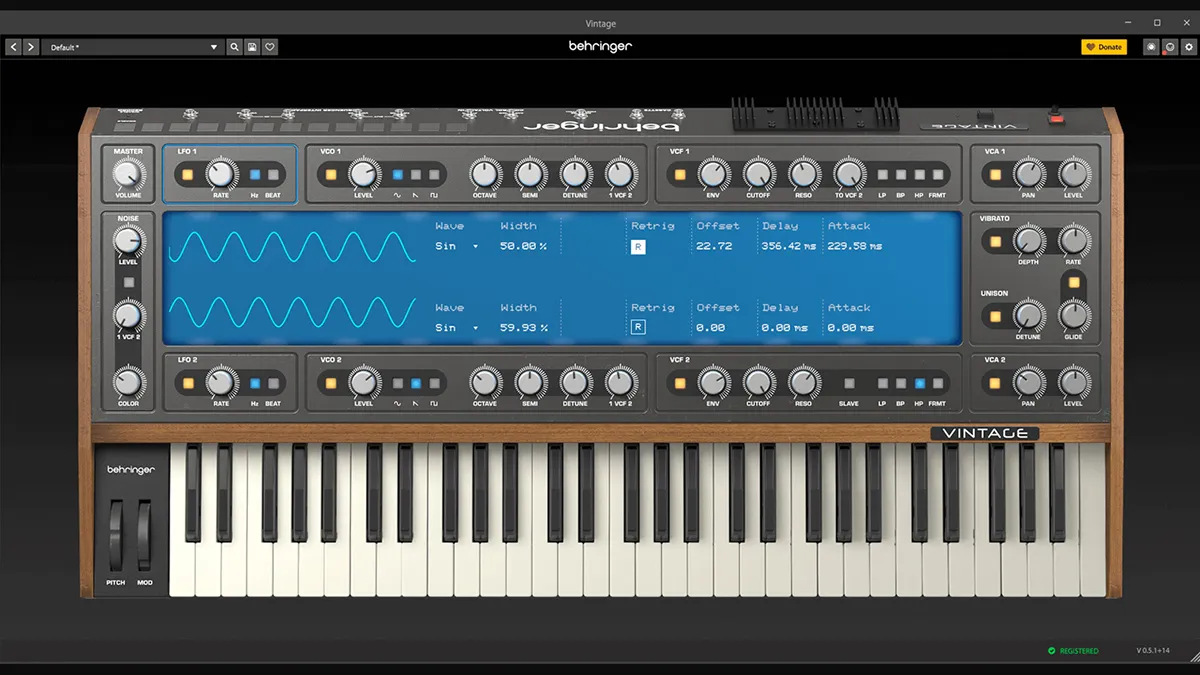
“We are not responsible for the graphics, the sound engine, or anything else related to it”

Synthlation means you can pay nearly six figures for some of these synths (but also get most of their sounds for free)…

Those hoping for the full V Collection experience in hardware form might be disappointed. But, as we discover, AstroLab’s simplicity is its biggest selling point
It’s yours for nothing… if the page you’re looking for can ever be found

Headphones designed for both recording and mixing? We're intrigued

